How To Make Hummingbird Nectar Properly (And Protect These Fragile Creatures)
Those tiny wings beating up to 80 times per second belong to one of nature’s most fascinating marvels – the hummingbird. These jewel-like creatures rely on flower nectar for energy, and your homemade version can be a lifesaver when natural sources are scarce.
Creating the right nectar isn’t just about attracting these aerial acrobats to your yard; it’s about keeping them healthy and safe.
1. The Perfect Sugar Ratio
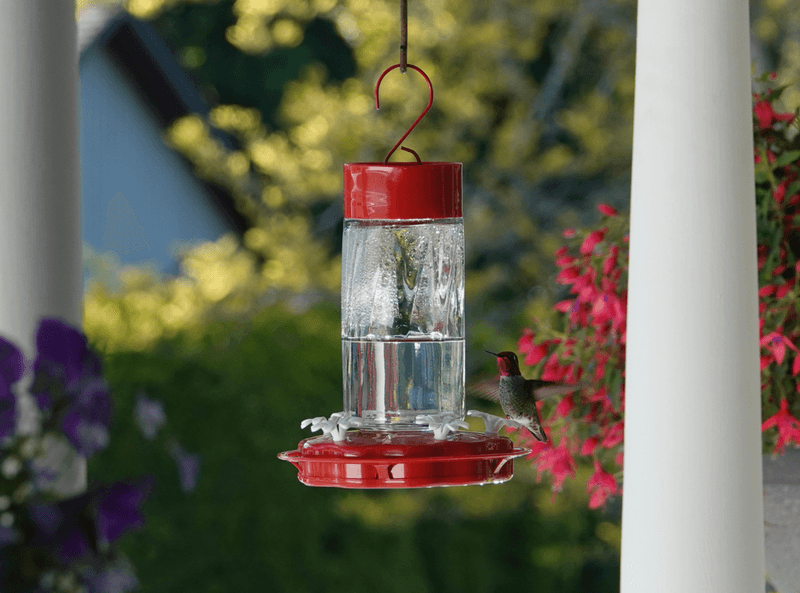
Skip the store-bought mixes and go straight to your pantry! The ideal hummingbird nectar is simply a 1:4 ratio – one part white granulated sugar to four parts water.
This mimics the natural sugar concentration in the flowers hummingbirds evolved to feed from. Anything stronger can damage their tiny livers and kidneys.
2. Boil First, Questions Later
Always boil your water for at least a minute before mixing in the sugar. This crucial step kills harmful microorganisms that could make your tiny visitors sick.
Let the water cool slightly before adding sugar – but still warm enough to dissolve it completely. Never use hot tap water as a shortcut!
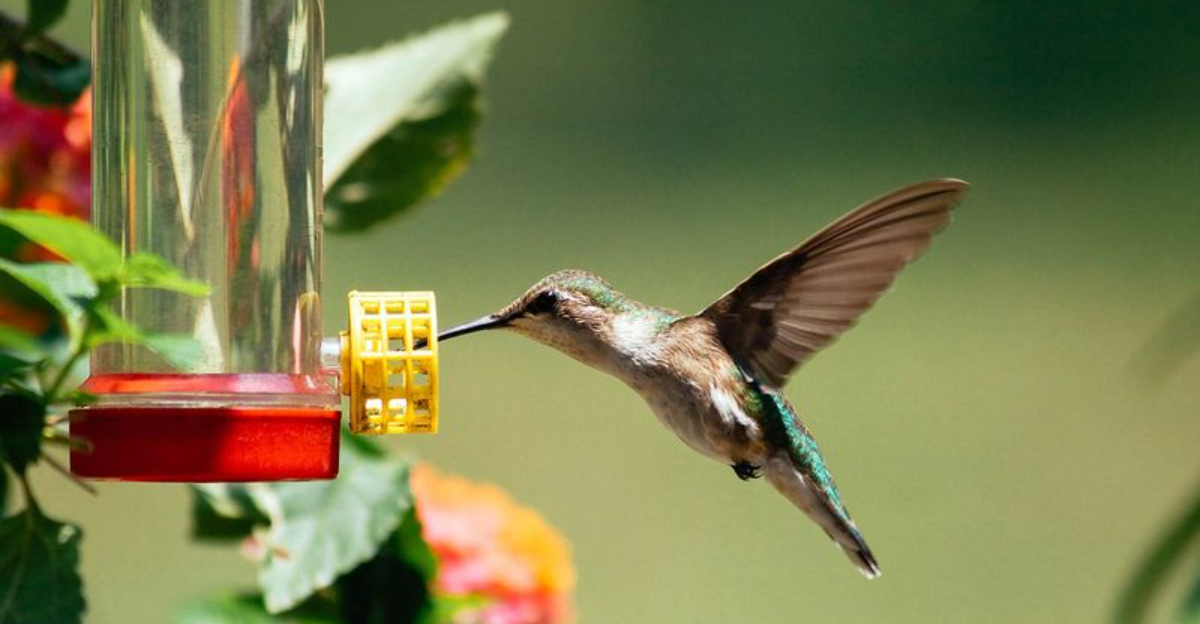
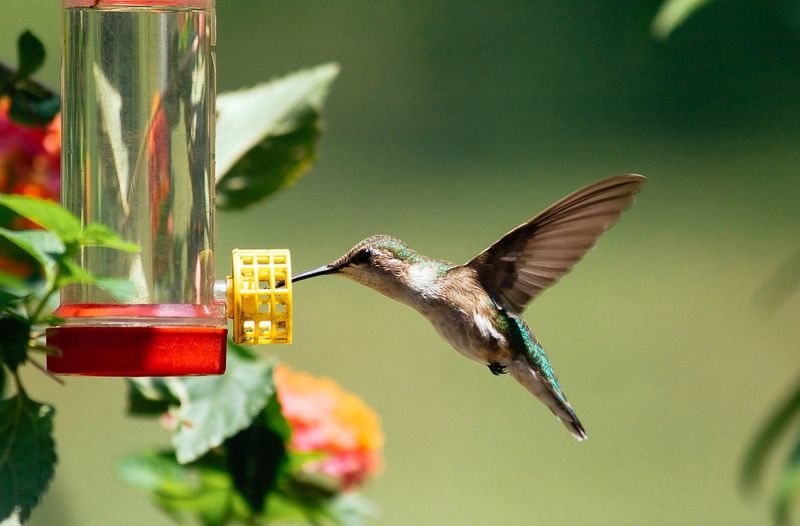
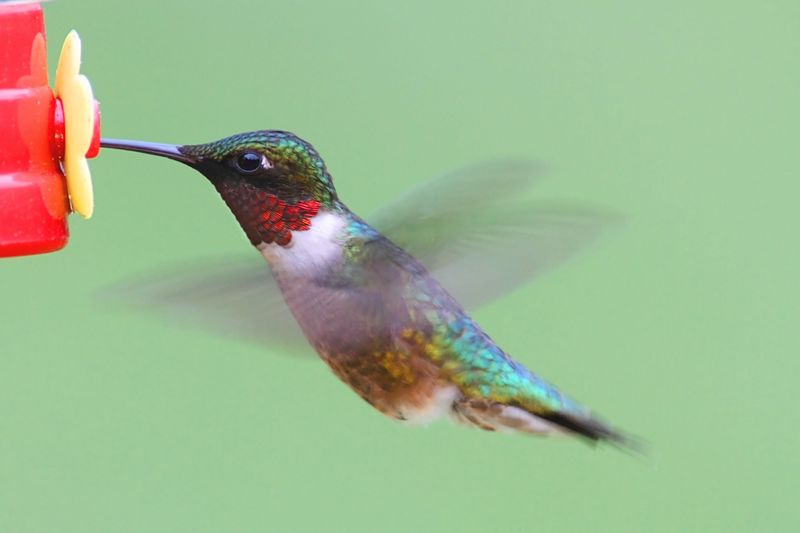
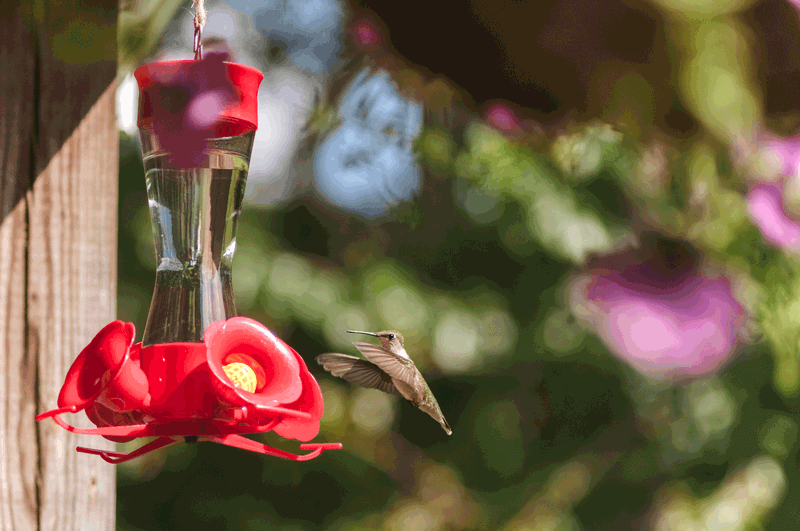
3. Red Dye Danger
Bright red commercial nectars might catch your eye in the store, but they spell trouble for hummingbirds. The artificial dyes have been linked to tumors and other health problems in these delicate creatures.
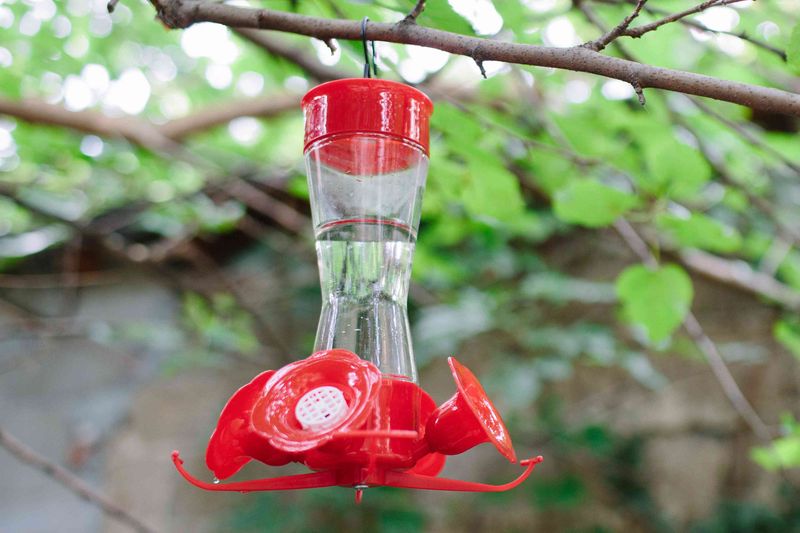
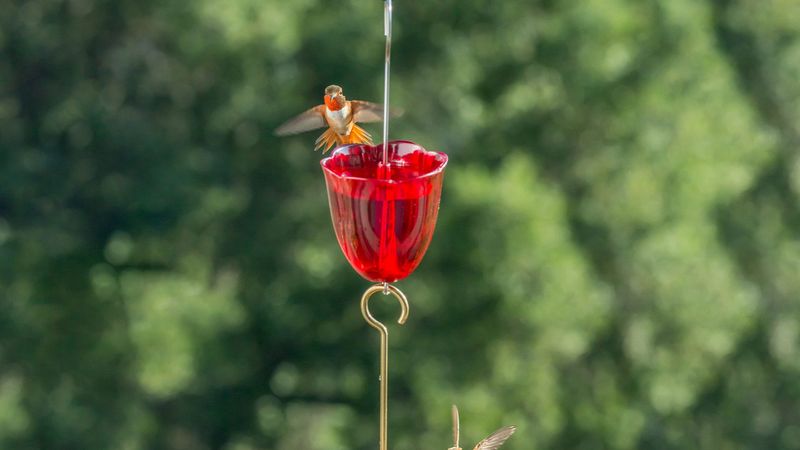
Your feeder’s red parts are all the color attraction needed – the nectar itself should remain clear.
4. Honey Is For Bees
Mother Nature designed honey for bees, not hummingbirds! When fermented in a feeder, honey creates a deadly fungus that causes fatal tongue swelling in hummingbirds.
Brown sugar, molasses, and artificial sweeteners are equally dangerous. Plain white sugar most closely resembles flower nectar’s natural sucrose content.
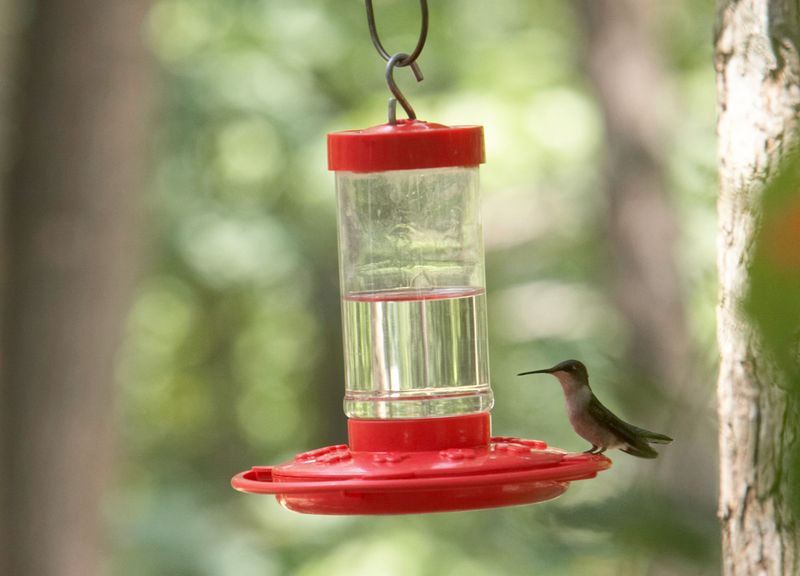
5. Cleaning Schedule Matters
Your sparkling clean feeder today can become a bacterial playground by next week! During hot weather (80°F+), feeders need cleaning every 2-3 days. In milder weather, twice weekly works fine.
Black mold spots mean you’ve waited too long between cleanings and could harm your tiny guests.
6. Storage Smarts
Whipped up too much nectar? Extra solution keeps in the refrigerator for up to two weeks in a clean, covered container. Label it clearly so nobody mistakes it for a drink!
Never use nectar that’s cloudy, has floating particles, or smells fermented. When in doubt, throw it out and make a fresh batch.
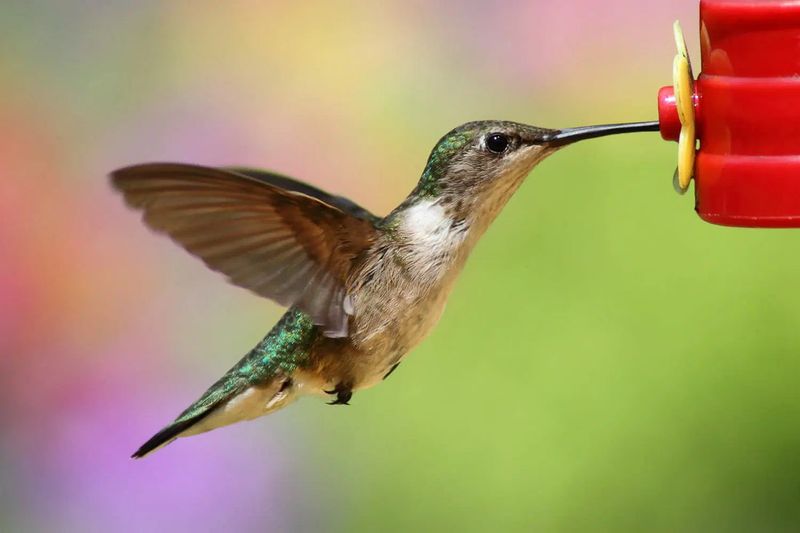
7. Feeder Placement Wisdom
Hang feeders in partial shade to prevent the nectar from spoiling quickly in direct sunlight. Position them near trees or shrubs that offer perching spots for resting hummers.
Keep feeders at least 15 feet apart to reduce territorial squabbles. These tiny fighters will defend their food source with surprising aggression!
8. Ant Invasion Prevention
Sticky situation? Those sweet-seeking ants can drown in your nectar and spoil it fast. An ant moat – a small water barrier that ants can’t cross – works wonders as a protective shield.
You can buy commercial ant moats or make one using a small cup hung above your feeder. Just keep it filled with plain water.
9. Year-Round Feeding Facts
Wondering when to take down your feeders? Contrary to popular belief, feeders won’t stop migration – internal biological clocks do that job. Many regions have year-round hummingbird residents.
In migration zones, keep feeders up two weeks after your last sighting in fall and put them up two weeks before expected spring arrival.
10. Natural Nectar Supplements
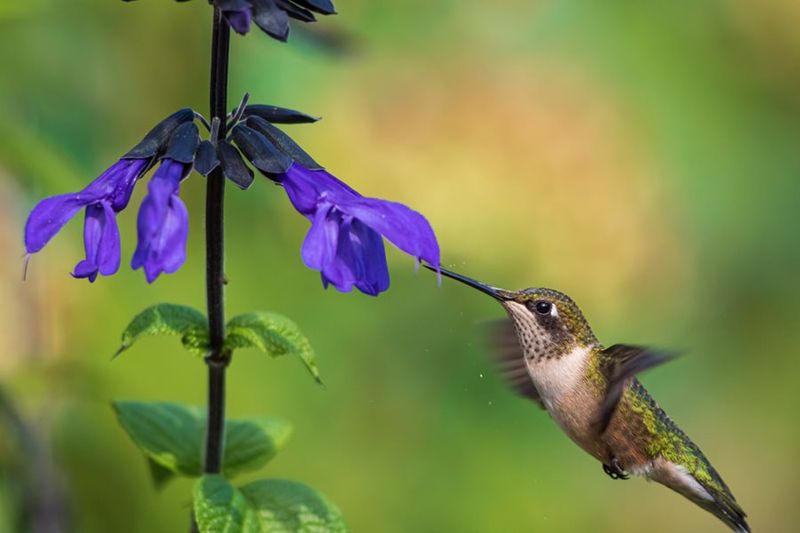
Feeders shouldn’t be their only food source! Plant native flowering plants like bee balm, salvia, and trumpet vine to provide natural nectar and attract insects – a crucial protein source for hummingbirds.
These natural food sources offer vital nutrients missing in sugar water and create safe habitats for these remarkable little birds.
11. Use The Right Feeder Design
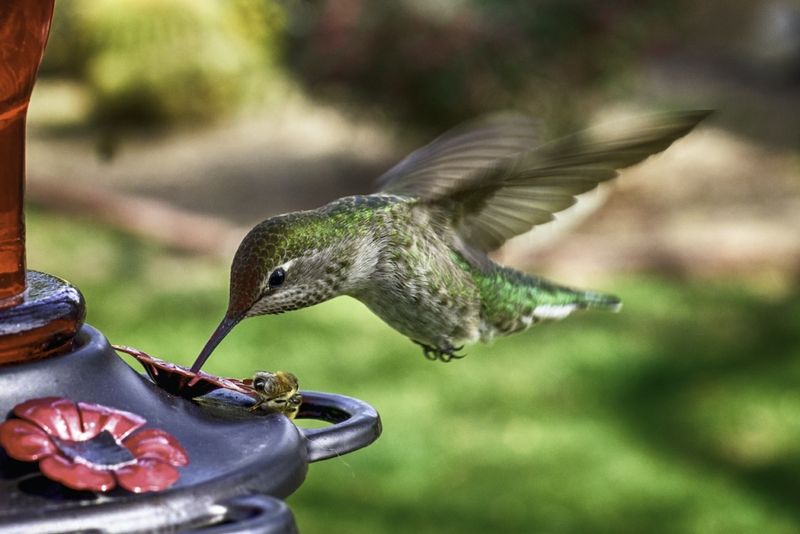
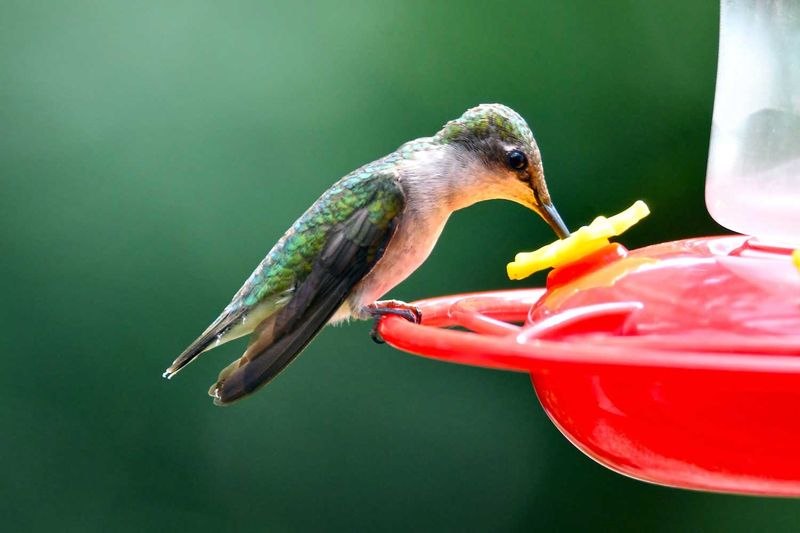
Not all hummingbird feeders are created equal. Choose one with few or no yellow accents – yellow attracts bees and wasps, which can overwhelm the feeder.
Look for feeders with built-in bee guards and ant moats for extra protection. Models that come apart easily make cleaning much less of a hassle.
12. Watch For Air Bubbles
Air trapped in the feeder ports can stop nectar from flowing properly. After filling and assembling your feeder, give it a gentle tap or tilt to release any bubbles.
If hummingbirds can’t access the nectar, they’ll quickly move on to more reliable sources. Ensuring a smooth nectar flow keeps them coming back.
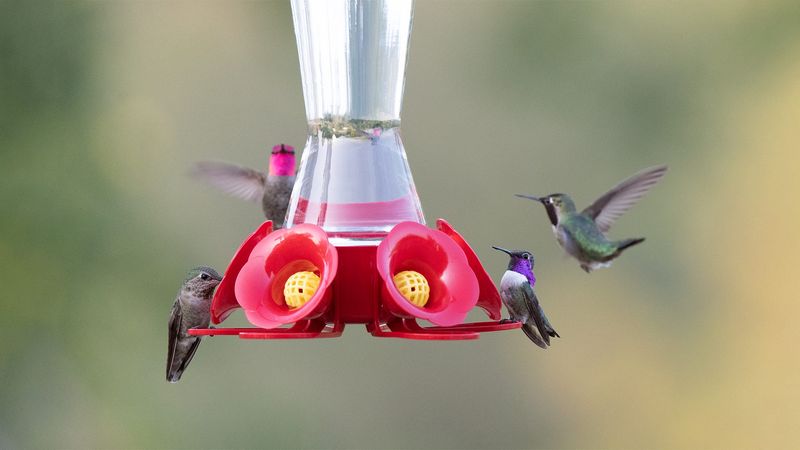
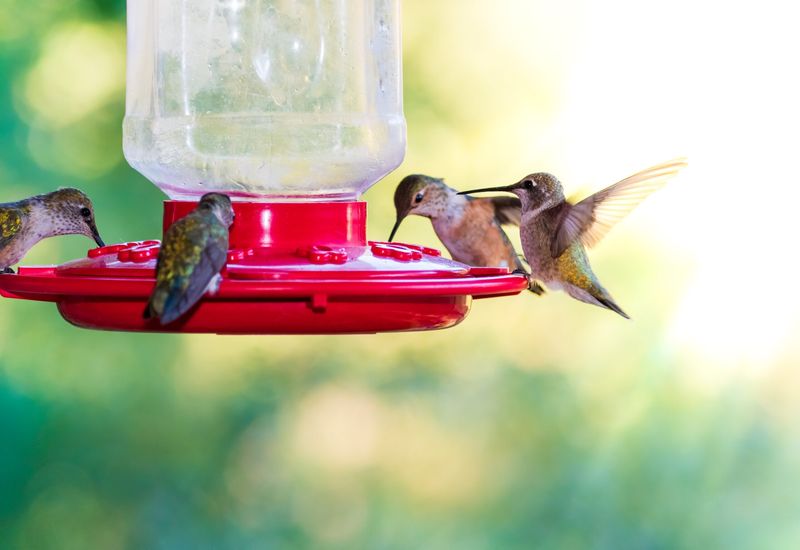
13. Offer Multiple Feeders In Different Spots
One feeder often isn’t enough – especially during migration season or in areas with high hummingbird activity.
Placing multiple feeders around your yard reduces competition and allows more birds to feed peacefully. Space them far enough apart so dominant birds can’t guard them all. This setup welcomes a greater diversity of hummingbird species.
14. Avoid Scented Soaps When Cleaning
When washing your feeder, skip fragrant dish soaps and stick to plain, unscented options. Strong chemical or perfume residues can linger and repel hummingbirds.
Rinse thoroughly with hot water to ensure no residue remains. A clean feeder without artificial smells helps keep your nectar pure and inviting.