
How To Clean Your Bird Feeder In A Few Simple Steps

Keeping your bird feeder clean isn’t just about aesthetics—it’s crucial for our feathered friends’ health and wellbeing.
Dirty feeders can harbor harmful bacteria, mold, and disease that can spread quickly among visiting birds. With a few simple tools and these straightforward steps, you’ll have your bird feeder sparkling clean and ready for hungry visitors in no time.
1. Gather Your Cleaning Arsenal
Round up a bottle brush, dish soap, gloves, and a bucket before starting. You’ll also need white vinegar for disinfecting and a clean towel for drying.
Having everything within arm’s reach makes the cleaning process flow smoothly without interruptions. No need to stop halfway through with dirty hands to hunt for supplies!
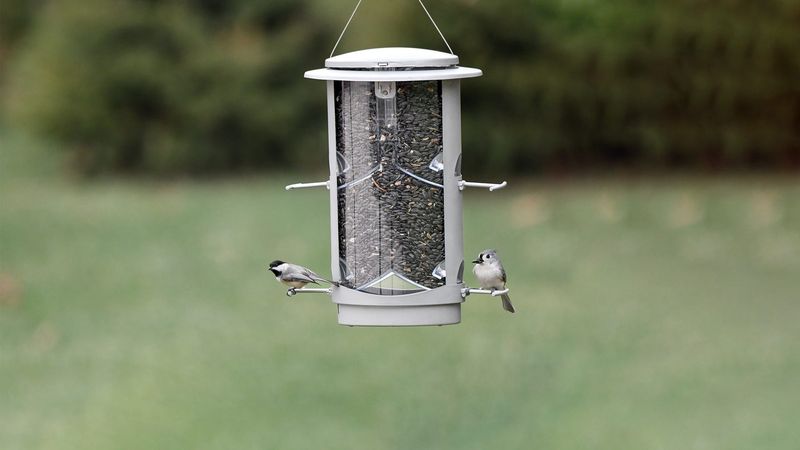
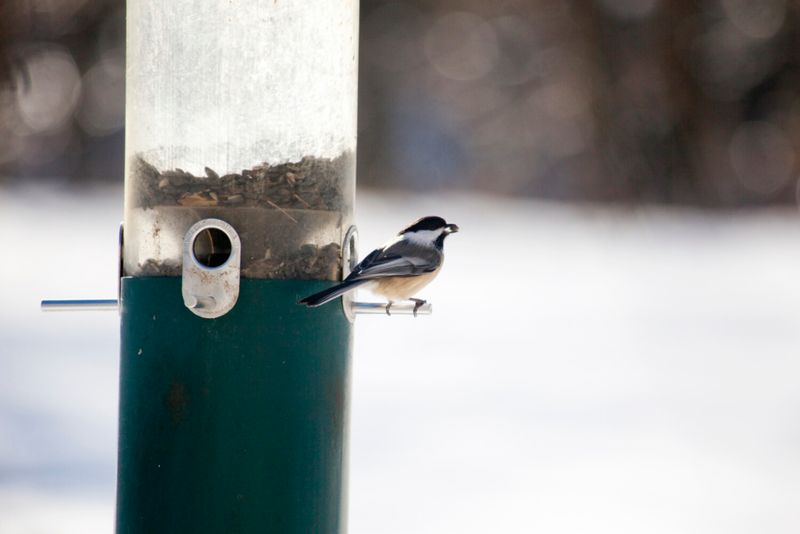
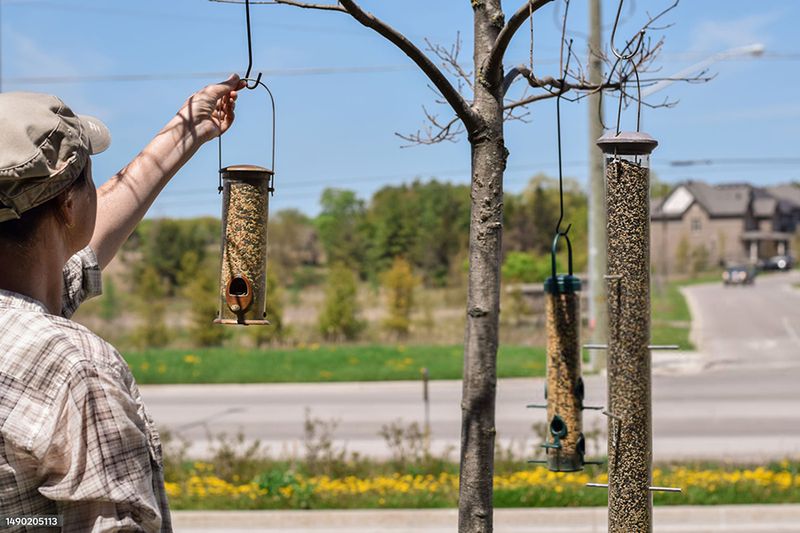
2. Empty Out Old Seed Completely
Dump all remaining seed into a paper bag or trash can. Tap the feeder gently to dislodge stubborn seeds hiding in corners or crevices.
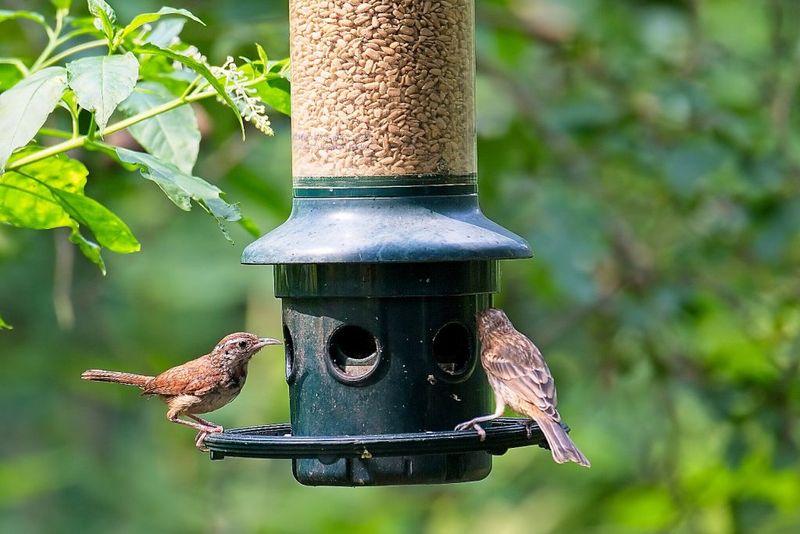
Don’t toss old seed onto the ground! This creates unsanitary conditions below your feeder. Moldy or spoiled seed can harm ground-feeding birds and attract unwanted pests to your yard.
3. Disassemble For Deep Cleaning
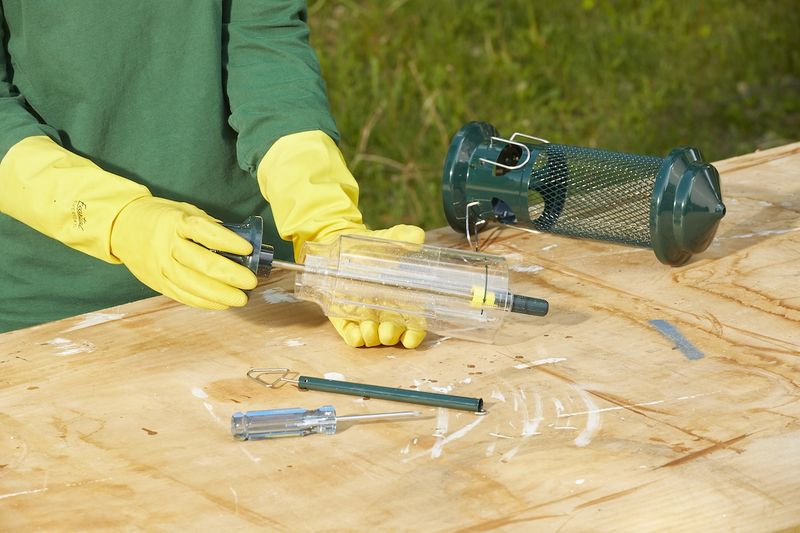
Take apart your feeder into its component pieces. Most feeders have removable perches, feeding ports, and lids designed for thorough cleaning.
Snap photos with your phone if you’re worried about remembering how everything fits back together. Some feeders have small parts that can be tricky to reassemble correctly without a visual reference.
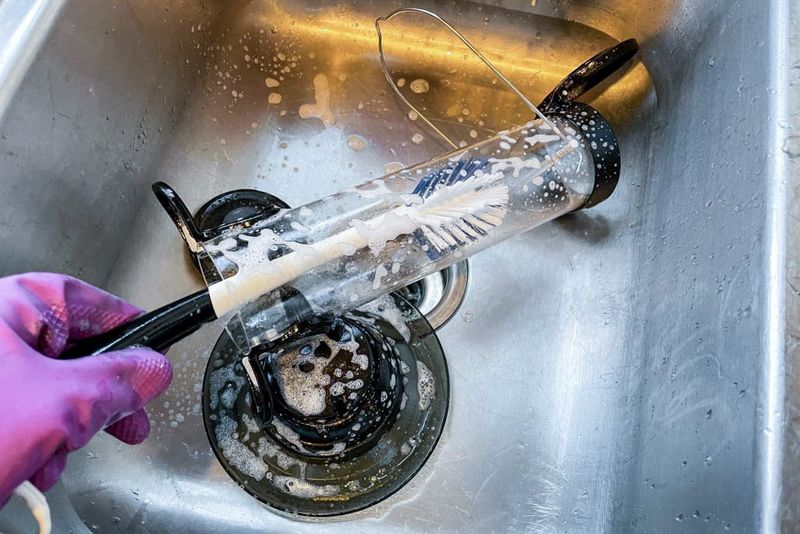
4. Scrub Away Debris With Warm Soapy Water
Fill your bucket with warm water and add a squirt of mild dish soap. Scrub every surface with your bottle brush, paying special attention to feeding ports where seed gets stuck.
Stubborn residue often collects around perches and in seed dispensing areas. A toothbrush works wonders for these tight spots that larger brushes can’t reach effectively.
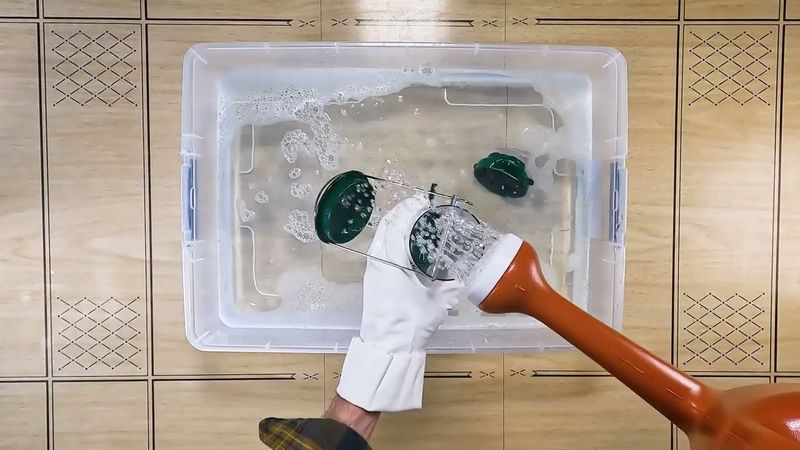
5. Rinse Thoroughly To Remove Soap Residue
Run each feeder part under clean, running water until all soap bubbles disappear. Lingering soap can make birds sick or deter them from visiting your freshly cleaned feeder.
Hold transparent parts up to the light to check for any missed soap film. Sometimes what looks clean at first glance still has a subtle residue that needs additional rinsing.
6. Disinfect With A Vinegar Solution
Mix one part white vinegar with nine parts water in your clean bucket. Soak all feeder components for 10-15 minutes in this natural disinfectant solution.
Vinegar kills bacteria and mold without leaving harmful chemical residues. For extra-grimy feeders, you might need to soak longer or use a stronger solution (one part vinegar to four parts water).
7. Tackle Stubborn Mold With A Bottle Brush
Mold loves hiding in feeder crevices! After soaking, give another scrub with your bottle brush to any areas showing black or green spots.
The narrow feeding ports need special attention since birds put their beaks directly into these openings. A pipe cleaner can reach these tiny spaces where even bottle brushes can’t fit properly.
8. Dry Completely Before Refilling
Lay all parts on a clean towel in direct sunlight. The UV rays provide additional disinfection while the heat speeds up drying time.
Moisture is mold’s best friend! Even small amounts of trapped water can start new mold colonies within days. Use a hairdryer on low heat for plastic parts with hard-to-reach internal areas.
9. Inspect For Damage While Reassembling
Check each component for cracks, warping, or sharp edges as you put your feeder back together. Birds can injure themselves on damaged feeders or get sick from seed exposed to the elements.
Replace any questionable parts before refilling. Many manufacturers sell replacement components separately, saving you from buying an entirely new feeder when just one piece is worn out.
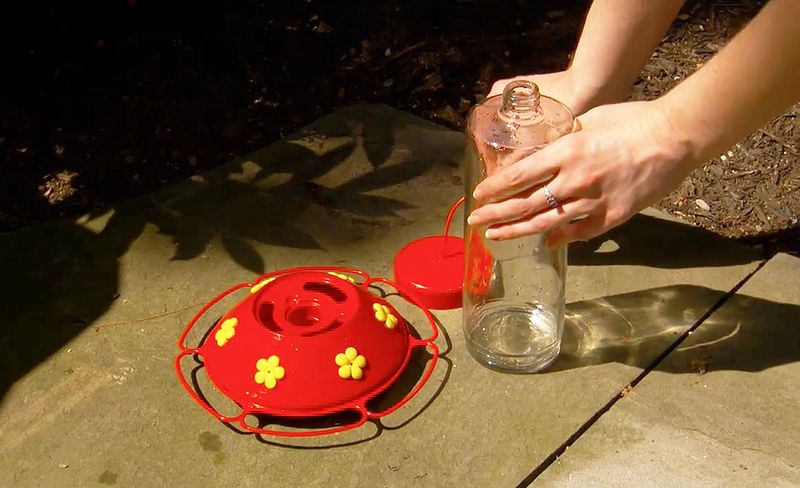
10. Fill With Fresh, Dry Seed
Add new seed to your sparkling clean feeder. Quality matters—choose seed appropriate for local bird species without excessive fillers like milo or wheat.
Store your seed supply in airtight containers to prevent moisture and pests. Birds can tell the difference between fresh and stale offerings, often abandoning feeders with poor-quality seed regardless of how clean the feeder itself is.
11. Clean The Area Under Your Feeder
Rake up seed hulls, droppings, and debris beneath your feeding station. This area can become a breeding ground for bacteria and attract unwanted critters.
Consider placing a seed catcher tray or platform under hanging feeders. These accessories collect fallen seed and make future cleanups much easier while reducing waste and preventing potentially harmful ground contamination.
12. Set A Regular Cleaning Schedule
Mark your calendar for cleaning every two weeks in warm weather and monthly during winter. Consistent maintenance prevents disease outbreaks among your backyard birds.
Weather affects cleaning frequency too! Hot, humid conditions accelerate mold growth, while rainy periods can soak and spoil seed quickly. After heavy rain, dump wet seed immediately and clean the feeder rather than waiting for your scheduled date.