
17 Expert-Approved Tips For Safely Trimming Your Cat’s Nails At Home
Keeping your cat’s nails trimmed isn’t just about protecting your furniture—it’s essential for your feline friend’s health and comfort too.
Overgrown claws can curl into paw pads, causing pain and infection. Many pet parents fear this grooming task, but with the right approach, it can become a stress-free experience for both you and your kitty.
1. Choose The Right Timing
Catching your cat in a calm, sleepy mood makes nail trimming infinitely easier. After a meal or playtime when they’re relaxed works wonders.
Never attempt a trim when your cat is energetic or agitated. A peaceful cat is more likely to tolerate the process without turning it into a wrestling match.
2. Gather Your Equipment First
Having everything within arm’s reach prevents mid-trim scrambles. You’ll need proper cat nail clippers (scissor or guillotine style), styptic powder for accidents, and treats for rewards.
Regular human nail clippers can crush and split cat nails, causing pain and reluctance for future trims. Specialized tools make clean cuts without damage.
3. Start With Gentle Paw Handling
Before introducing clippers, spend a week just touching and holding your cat’s paws during cuddle sessions. This builds trust and familiarity with the sensation.
Gently press paw pads to extend claws, then immediately release. Pair with treats and praise. Your cat will gradually accept paw handling as normal, not threatening.
4. Create A Calm Environment
Background noise and commotion can spook even the most cooperative cats. Choose a quiet room with minimal distractions for trimming sessions.
Consider using pheromone diffusers like Feliway to create a calming atmosphere. Some cats also respond well to soft, classical music playing in the background to mask the sound of clippers.
5. Master The Perfect Position
Finding a comfortable position for both you and your cat makes all the difference. Some cats do best sitting in your lap while others prefer being wrapped in a towel “purrito” style.
For squirmy cats, try the “football hold” with their body tucked under your arm against your side, leaving one hand free to work with their paw.
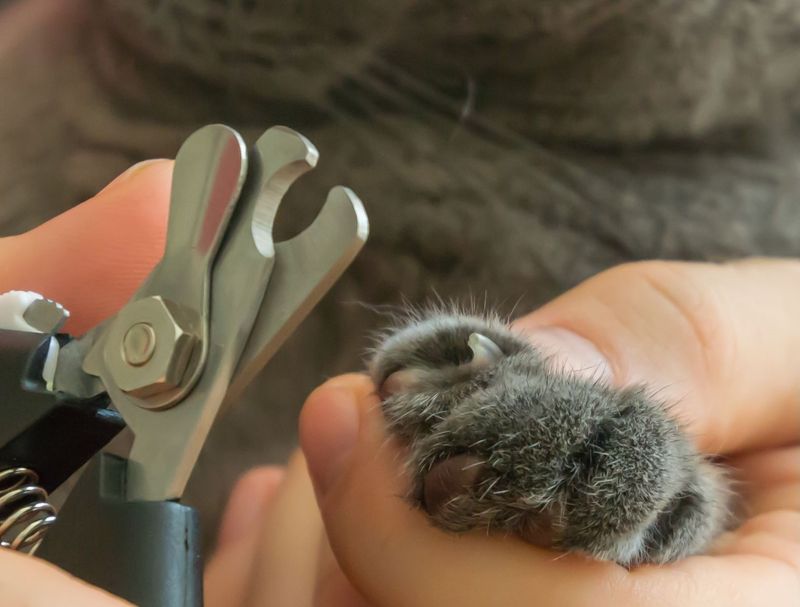
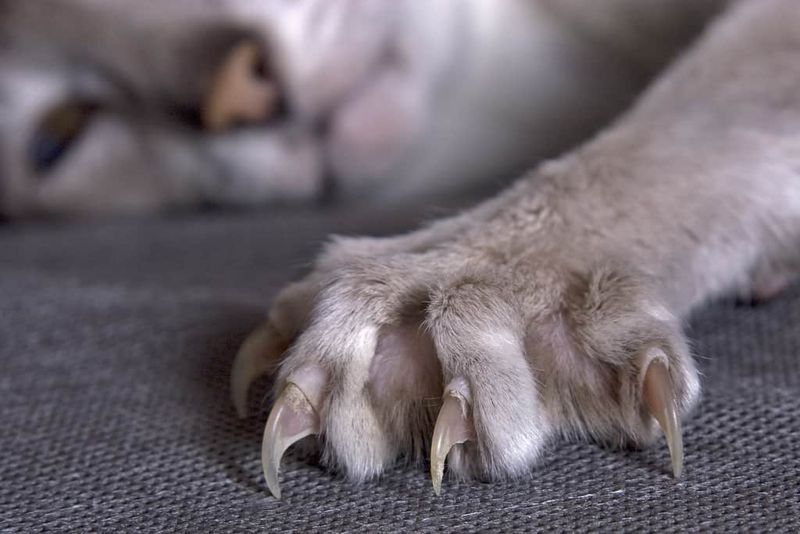
6. Learn Proper Nail Anatomy
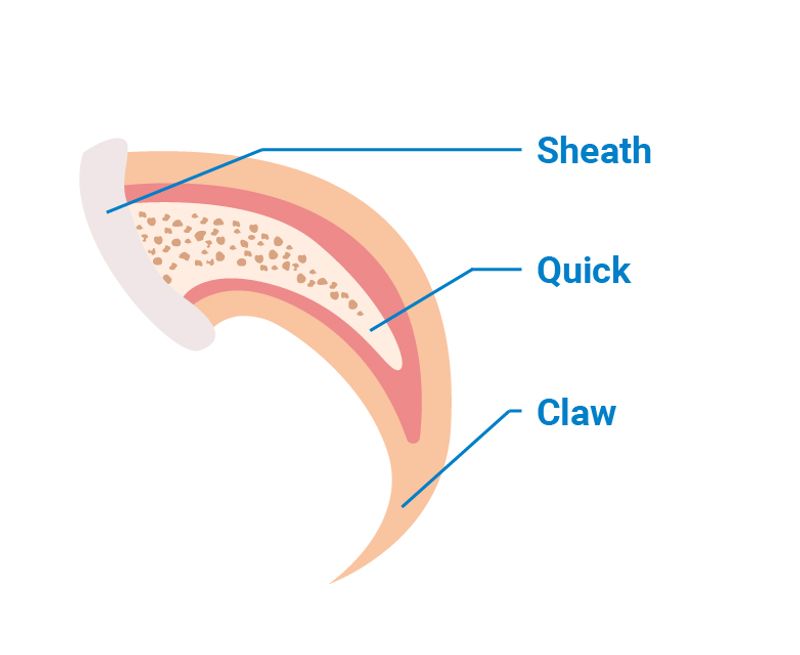
Cat claws contain a pink area called the quick—a blood vessel and nerve bundle that’s painful if cut. Only trim the white/clear curved tip, staying well away from the pink area.
In dark nails where the quick isn’t visible, err on the side of caution by only trimming the very tip. Better to trim less than risk cutting too deep.
7. Take Baby Steps With First-Timers
Never rush a first-time trim. Start with just one or two nails, then shower your cat with treats and praise before ending the session.
Gradually increase the number of nails trimmed in subsequent sessions. This slow introduction prevents your cat from developing negative associations with nail trimming.
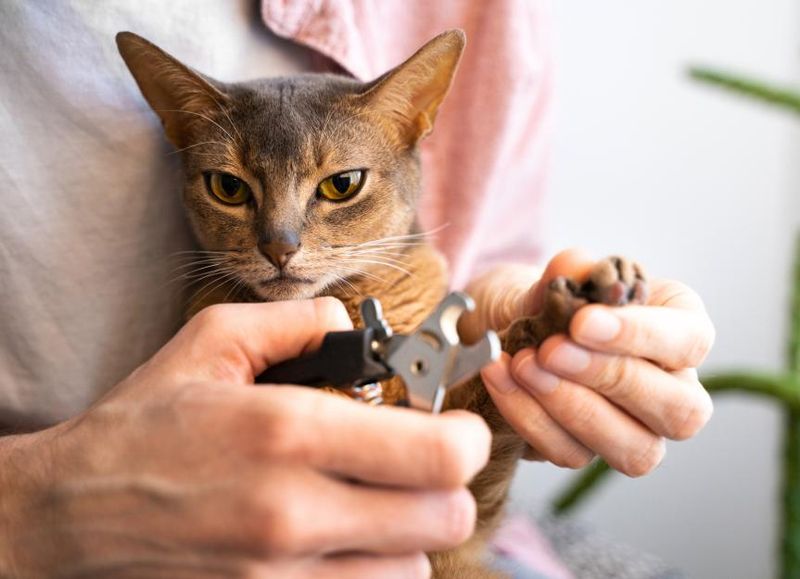
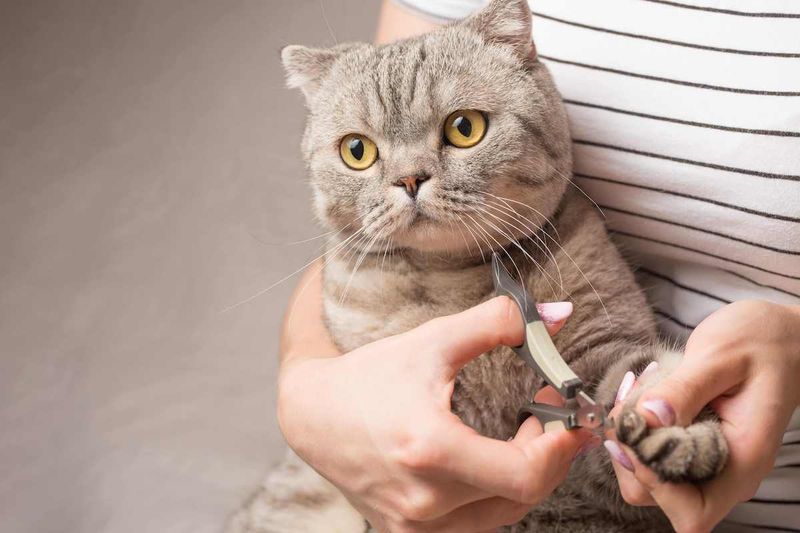
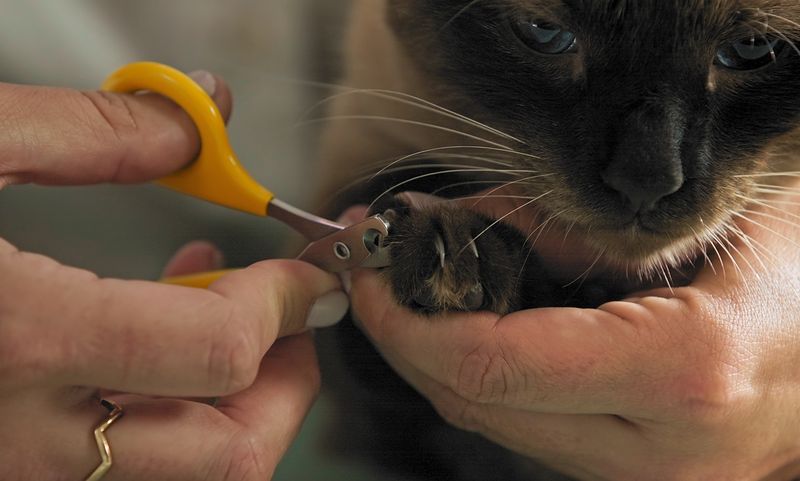
8. Press Paws The Right Way
Gently squeeze the paw pad between your thumb and forefinger to extend the claw. This technique mimics their natural stretching motion rather than forcing the paw open.
For front paws, press on the top and bottom of the paw. For back paws, press on the paw pad and the top of the toe. Each cat has different sensitivity levels, so adjust your pressure accordingly.
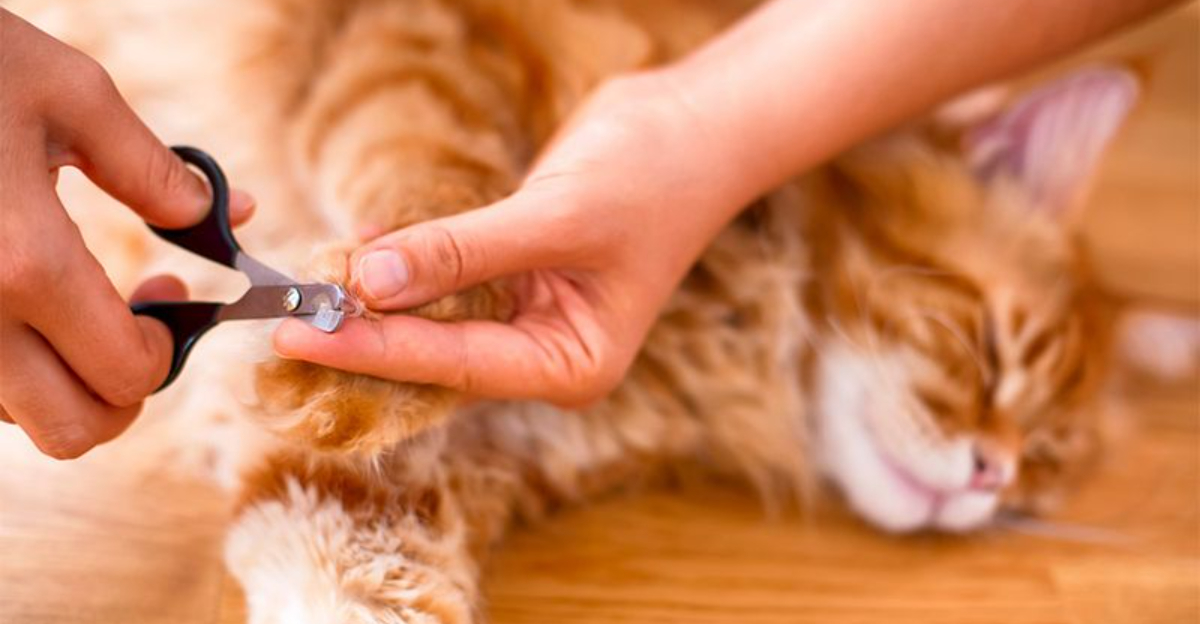
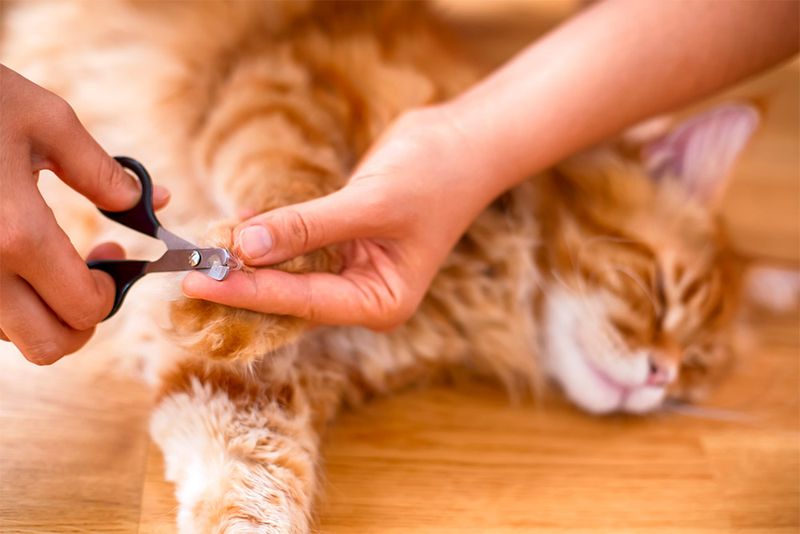
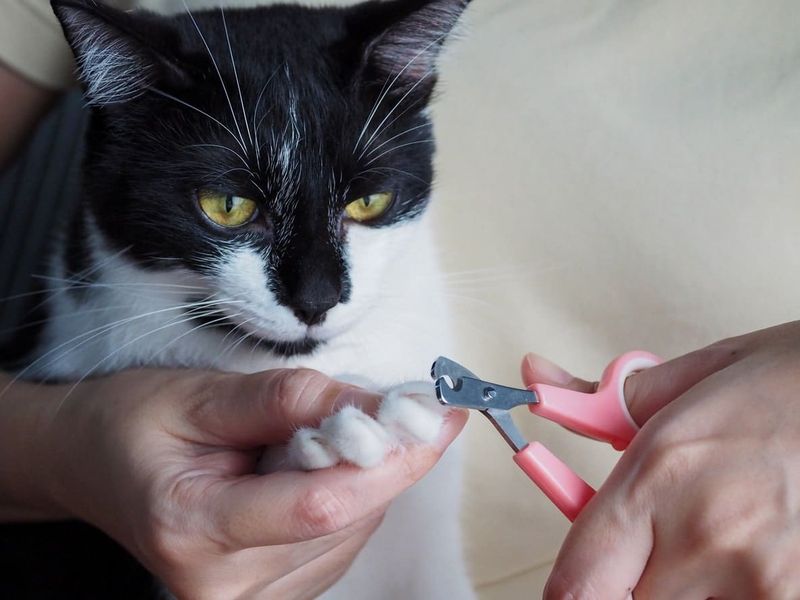
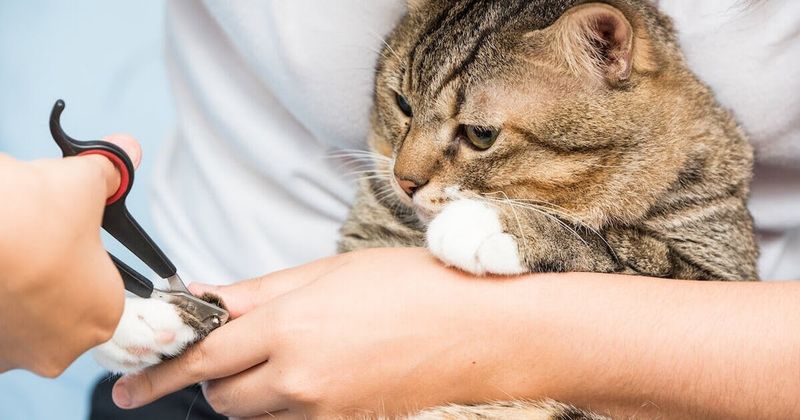
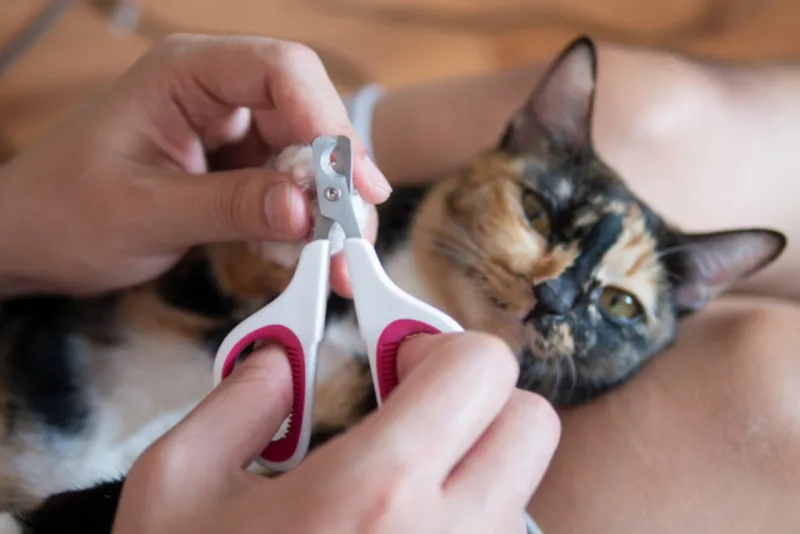
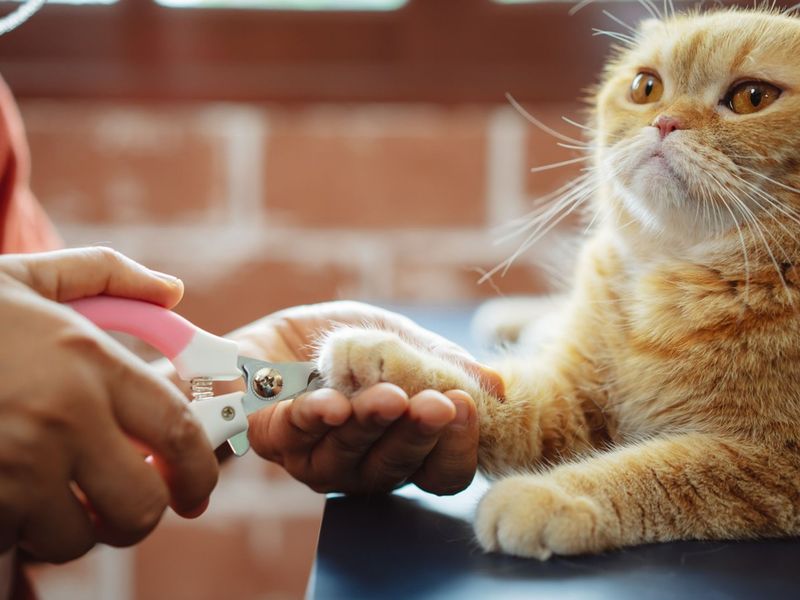
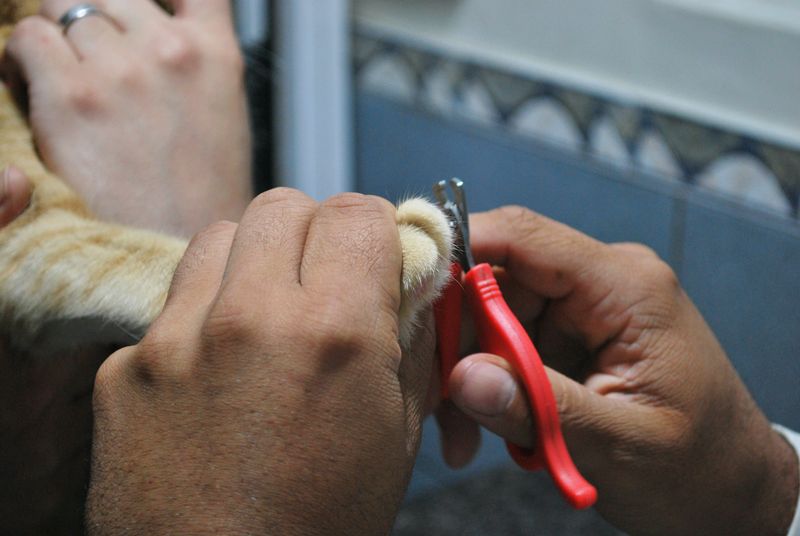
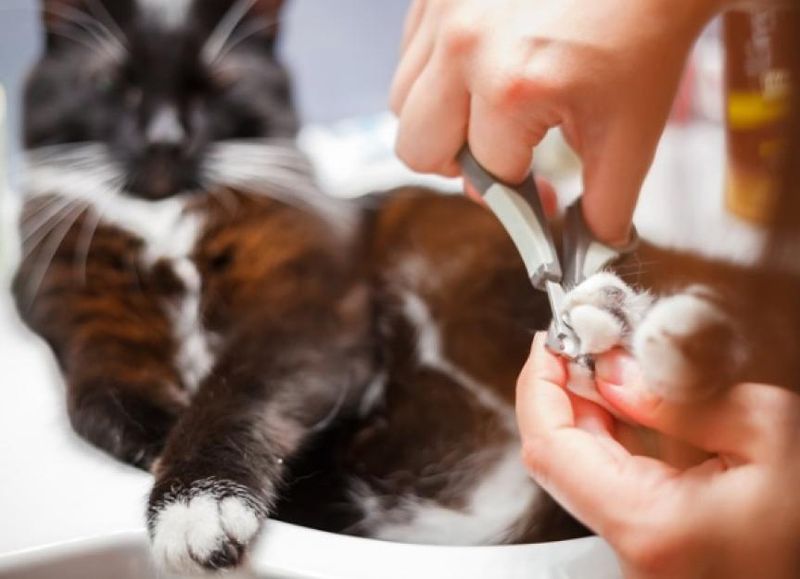
9. Make Strategic Cuts
Position the clippers at a 45-degree angle, mimicking the natural shape of the claw. One clean, swift cut prevents splitting and reduces pressure sensation.
Only trim the sharp, curved tip—about 1/16 to 1/8 inch. When in doubt, trim less rather than risk cutting the quick, which causes pain and bleeding that can traumatize your cat.
10. Have Emergency Supplies Ready
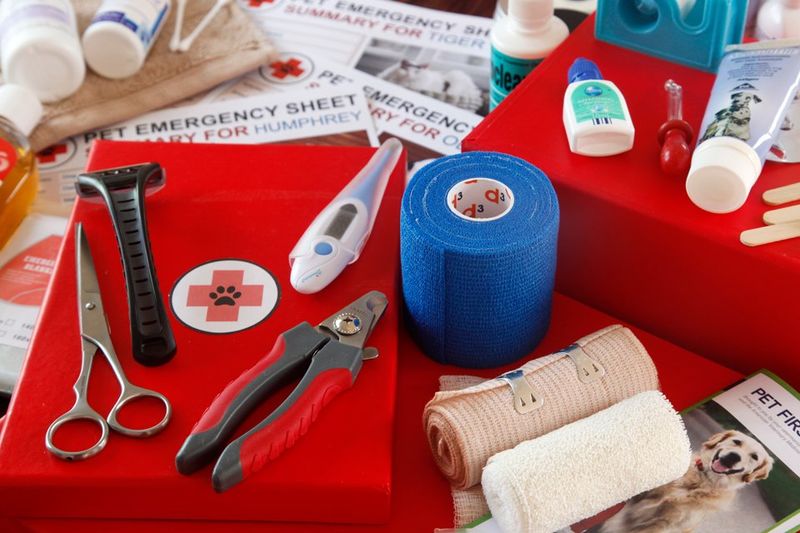
Accidents happen even with experienced trimmers. Keep styptic powder or a styptic pencil nearby to quickly stop bleeding if you cut the quick.
In a pinch, cornstarch or flour can help clot small bleeds. Apply gentle pressure with the powder until bleeding stops. Remain calm—your anxiety will only increase your cat’s stress.
11. Use Positive Reinforcement Liberally
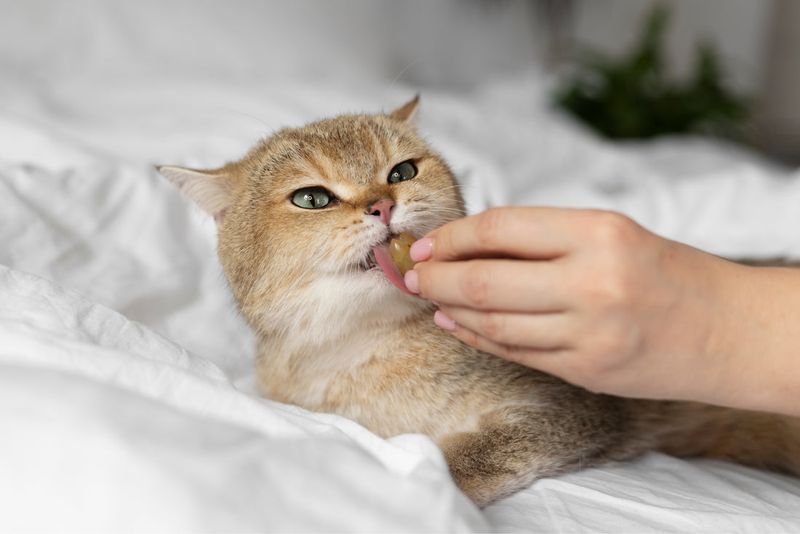
Cats respond remarkably well to reward-based training. Offer high-value treats immediately after trimming each nail to create positive associations.
Some cats are motivated by special foods like tuna or chicken, while others prefer play or petting as rewards. Find what your cat values most and use it generously throughout the process.
12. Know When To Take A Break
Forcing a frightened cat to continue will only create lasting trauma. If your cat shows signs of extreme stress—dilated pupils, hissing, growling—stop immediately.
There’s no rule saying all nails must be trimmed in one session. Doing two paws today and two tomorrow is perfectly acceptable and often more successful with resistant cats.
13. Consider A Scratch-and-Sniff Distraction
Many veterinarians use a clever trick—applying a dab of tuna juice, soft cheese, or cat treat paste to a surface at eye level. While your cat licks the treat, their mind is occupied as you quickly trim.
Some cats become so focused on the tasty distraction they barely notice the trimming. This works especially well for food-motivated felines.
14. Try The Towel Wrap Technique
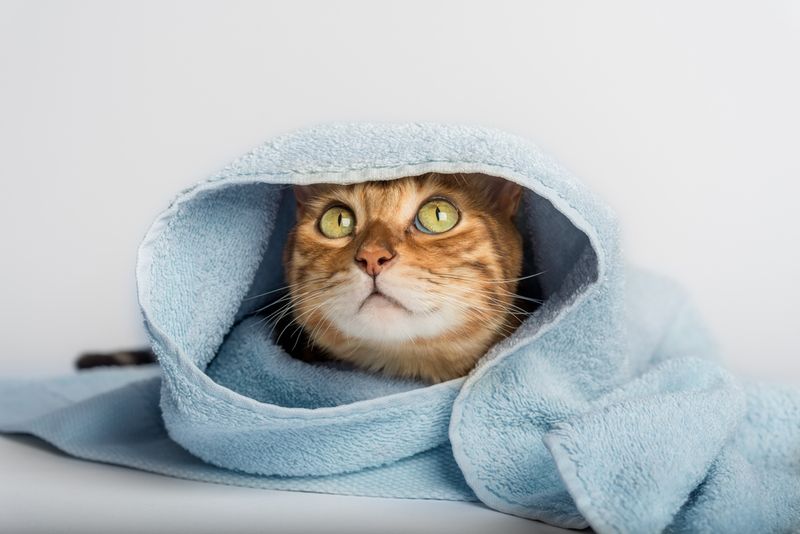
For squirmy cats, the “purrito” method can be a game-changer. Wrap your cat in a towel with just one paw exposed at a time to limit movement and reduce stress.
The gentle pressure of the towel often has a calming effect similar to a thunder shirt. Just ensure the wrap is secure but not tight, allowing comfortable breathing while preventing escape.
15. Enlist A Helper For Difficult Cases
Sometimes an extra pair of hands makes all the difference. One person can gently hold and reassure the cat while the other focuses on the precise trimming.
The helper can also offer treats or distractions at strategic moments. This tag-team approach often results in faster, less stressful trims for particularly resistant cats.
16. Maintain A Regular Schedule
Consistency builds familiarity and acceptance. Most cats need nail trims every 2-3 weeks, though active scratchers may need more frequent attention.
Regular trimming prevents nails from growing too long between sessions, which means shorter, easier trims each time. Mark your calendar to establish a routine your cat can adapt to.
17. Know When To Seek Professional Help
Some cats simply won’t tolerate home trimmings despite your best efforts. Veterinarians and professional groomers have techniques and tools for difficult cases.
If trimming sessions consistently end in stress or struggle, it’s kinder to outsource this task. No shame in admitting some cats need professional handling—their emotional wellbeing matters most.